LESSON 3: INTERACTIVE LED FLOWING LIGHTS
In this lesson, a potentiometer is added on that basis to change the interval of LED flashing by adjusting the potentiometer.
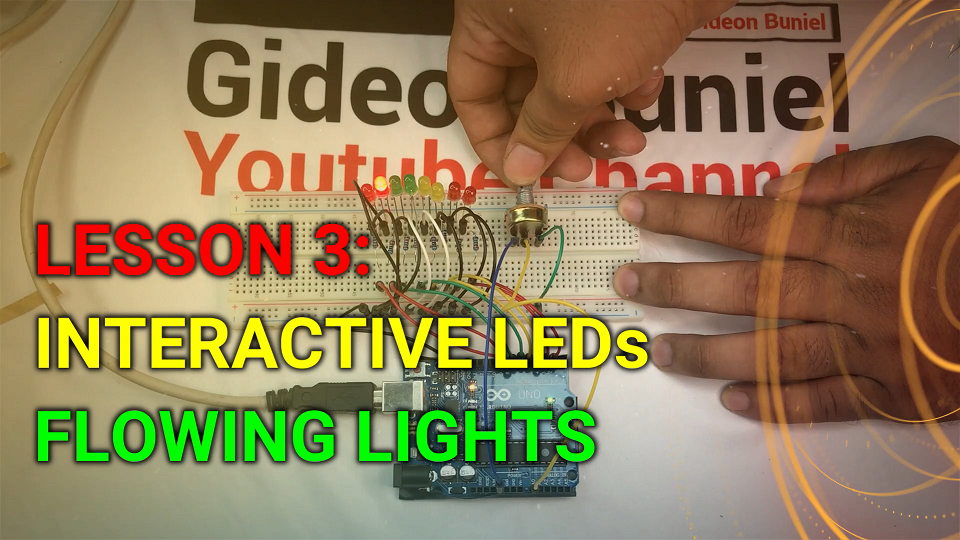
LESSON 3: INTERACTIVE LED FLOWING LIGHTS
#Arduino #ArduinoLED #InteractiveLEDFlowingLights
In this lesson, we are going to tackle the theory behind the interactive LED flowing lights, you will also see how we build the circuit, and compile and upload the program (code) to the Arduino UNO.
Reference: https://www.makerlab-electronics.com/
Step by Step Tutorial: https://e-boombots.com/
Learn about the Arduino Kit: https://youtu.be/S2Hd-TeijnU
My Collection of Boards and Sensors: https://youtu.be/sEn6LZP_mi0
LESSON 2: CONTROLLING LED BY PULSE WIDTH MODULATION (PWM): https://youtu.be/J3tMv7AeS6U
Best IoT Project: https://youtu.be/lZsEdkC4A3g
Introduction
In this lesson, a potentiometer is added on that basis to change the interval of LED flashing by adjusting the potentiometer.
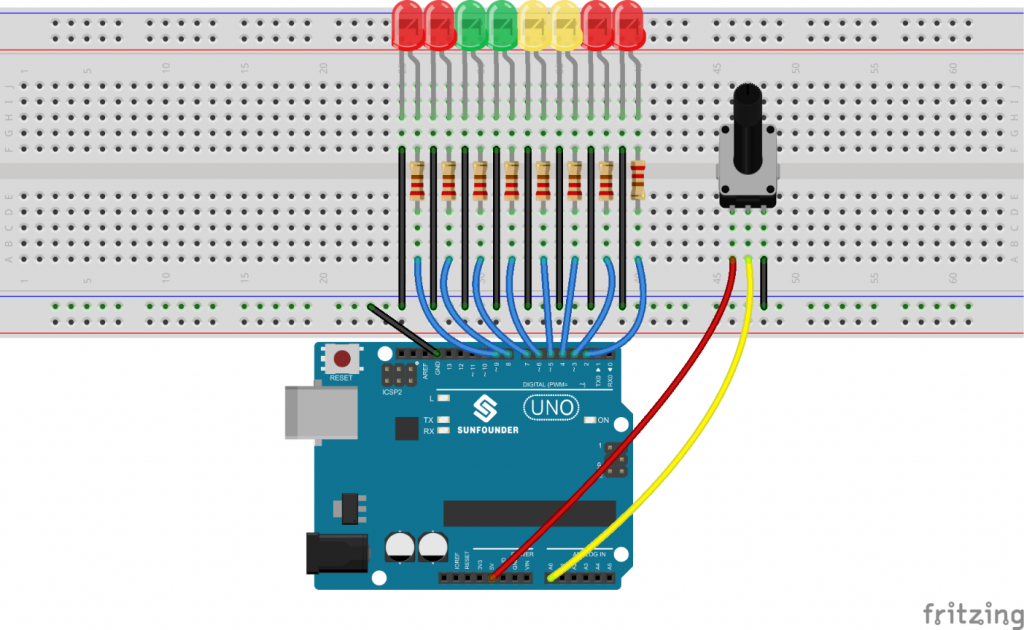
Components
- 1* Arduino Uno board
- 1 * Breadboard
- 8 * LED
- 8 * Resistor (220Ω)
- 1 * Potentiometer
- 1 * USB cable
- Several Jumper wires
Experimental Principle
The principle is quite simple, that is, to turn eight LEDs on in turn. And then change the time interval of LED on and off by adjusting the potentiometer.
Experimental Procedures
Step 1: Build the circuit

Step 2: Program (Please refer to the example code
Step 3: Compile the code
Step 4: Upload the sketch to the Arduino Uno board
Here you should see eight LEDs light up one by one in turn. Adjust the potentiometer, and you will find the time interval of LED lighting up changes.

Arduino Code:
/**************************************************************/
const int ledPin = 9;    // the pin that the LED is attached to

void setup ()
{
  pinMode(ledPin, OUTPUT);  // declare pin 9 to be an output:
}

void loop()
{
  for (int a=0; a<=255;a++)               //loop from 0 to 255
  {
    analogWrite(ledPin, a);               // set the brightness of pin 9:
    delay(8);                             //wait for 8 microseconds
  }
    for (int a=255; a>=0;a--)             //loop from 255 down to 0
  {
    analogWrite(ledPin, a);               // set the brightness of pin 9:
    delay(8);                             //wait for 8 microseconds
  }
  delay(800);                             //wait for 800 microseconds
}
Watch Full Youtube Tutorial:
I have recommended stores where you can buy the components:
https://www.makerlab-electronics.com/
https://www.e-gizmo.net/oc/index.php
Related searches: arduino led arduino led lights arduino led flowing lights interactive led flowing lights interactive leds arduino interactive leds led rgb arduino rgb led arduino led project arduino arduino project arduino kit arduino upgraded learning kit
Join this channel to get access to perks:
https://www.youtube.com/channel/UCEoNaDH6R_Iu8ee58-hsGxQ/join
Follow our social media accounts:
Facebook: https://www.facebook.com/kringgidz
Facebook: https://www.facebook.com/gideongasulasbuniel
Website: https://e-boombots.com/
Instagram: https://www.instagram.com/gideongbuniel/
Twitter: https://twitter.com/KringxG
Tumbler: https://www.tumblr.com/blog/kringxgidz
Pinterest: https://www.pinterest.ph/KringxGidz
Linkedin: https://www.linkedin.com/in/gideon-buniel-118bb35a/