ARDUINO TUTORIAL FOR BEGINNERS LESSON 5: CREATE A TONE USING ARDUINO UNO AND ACTIVE BUZZER
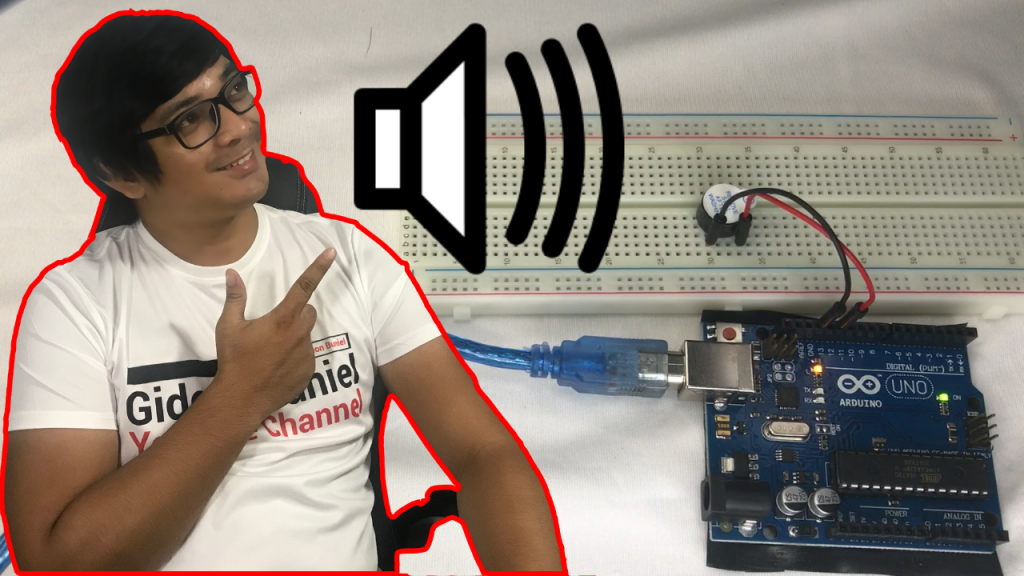
In this lesson, we are going to create a tone or a sound with the use of Arduino Uno Board and an active buzzer. This Arduino tutorial for beginners will let you learn the basic of buzzer.

ARDUINO TUTORIAL FOR BEGINNERS LESSON 5: CREATE A TONE USING ARDUINO UNO AND ACTIVE BUZZER
#ArduinoUno #Buzzer #ArduinoBuzzer
In this lesson, we are going to create a tone or a sound with the use of Arduino Uno Board and an active buzzer. This Arduino tutorial for beginners will let you learn the basic of buzzer.
Reference: https://www.makerlab-electronics.com/
Introduction
You can use a buzzer whenever you want to make some noise.
Components
- 1 * Arduino Uno board
- 1 * Breadboard
- 1 * USB data cable
- 1 * Buzzer (Active)
- Jumper wires
Principle
As a type of electronic buzzer with integrated structure, buzzers, which are supplied by DC power, are widely used in computers, printers, photocopiers, alarms, electronic toys, automotive electronic devices, telephones, timers and other electronic products for voice devices. Buzzers can be categorized as active and passive ones (see the following picture). Turn the pins of two buzzers face up, and the one with a green circuit board is a passive buzzer, while the other enclosed with a black tape is an active one.
The difference

The difference between an active buzzer and a passive buzzer is:
An active buzzer has a built-in oscillating source, so it will make sounds when electrified. But a passive buzzer does not have such source, so it will not tweet if DC signals are used; instead, you need to use square waves whose frequency is between 2K and 5K to drive it. The active buzzer is often more expensive than the passive one because of multiple built-in oscillating circuits.
In this experiment, we use the active buzzer.
Experimental Procedures
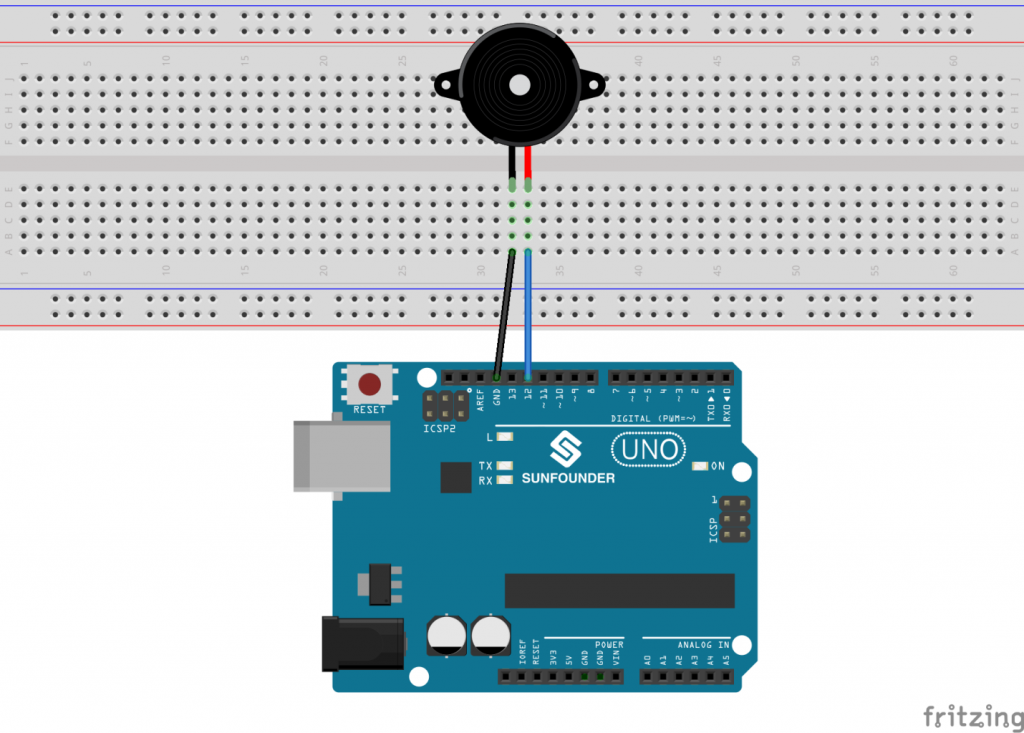
Step 1: Build the circuit

The schematic diagram

Step 2: Program (Please refer to the example code
Step 3: Compile the code
Step 4: Upload the sketch to the Arduino Uno board
Now, you should hear the buzzer make sounds.
Arduino Code:
// Buzzer
// buzzer make sounds
/***********************************/
int buzzer = 12;//the pin of the active buzzer
void setup()
{
 pinMode(buzzer,OUTPUT);//initialize the buzzer pin as an output
}
void loop()
{
 unsigned char i; //define a variable
 while(1)
 {
   //output an frequency
   for(i=0;i<80;i++)
   {
    digitalWrite(buzzer,HIGH);
    delay(1);//wait for 1ms
    digitalWrite(buzzer,LOW);
    delay(1);//wait for 1ms
    }
    //output another frequency
     for(i=0;i<100;i++)
      {
        digitalWrite(buzzer,HIGH);
        delay(2);//wait for 2ms
        digitalWrite(buzzer,LOW);
        delay(2);//wait for 2ms
      }
  }
}
/****************************************/
Related searches: arduino buzzer arduino buzzer music arduino buzzer tutorial arduino buzzer alarm arduino buzzer sound effects arduino buzzer beep arduino buzzer tone buzzer arduino buzzer arduino projects buzzer arduino uno buzzer arduino tone buzzer arduino sound
I have recommended stores where you can buy the components:
https://e-boombots.com/
https://www.makerlab-electronics.com/
https://www.e-gizmo.net/oc/index.php
Follow our social media accounts:
Facebook: https://www.facebook.com/kringgidz
Facebook: https://www.facebook.com/gideongasulasbuniel
Website: https://e-boombots.com/
Instagram: https://www.instagram.com/gideongbuniel/
Twitter: https://twitter.com/KringxG
Tumbler: https://www.tumblr.com/blog/kringxgidz
Pinterest: https://www.pinterest.ph/KringxGidz
Linkedin: https://www.linkedin.com/in/gideon-buniel-118bb35a/
Full VIdeo:


